Making a Head Knife

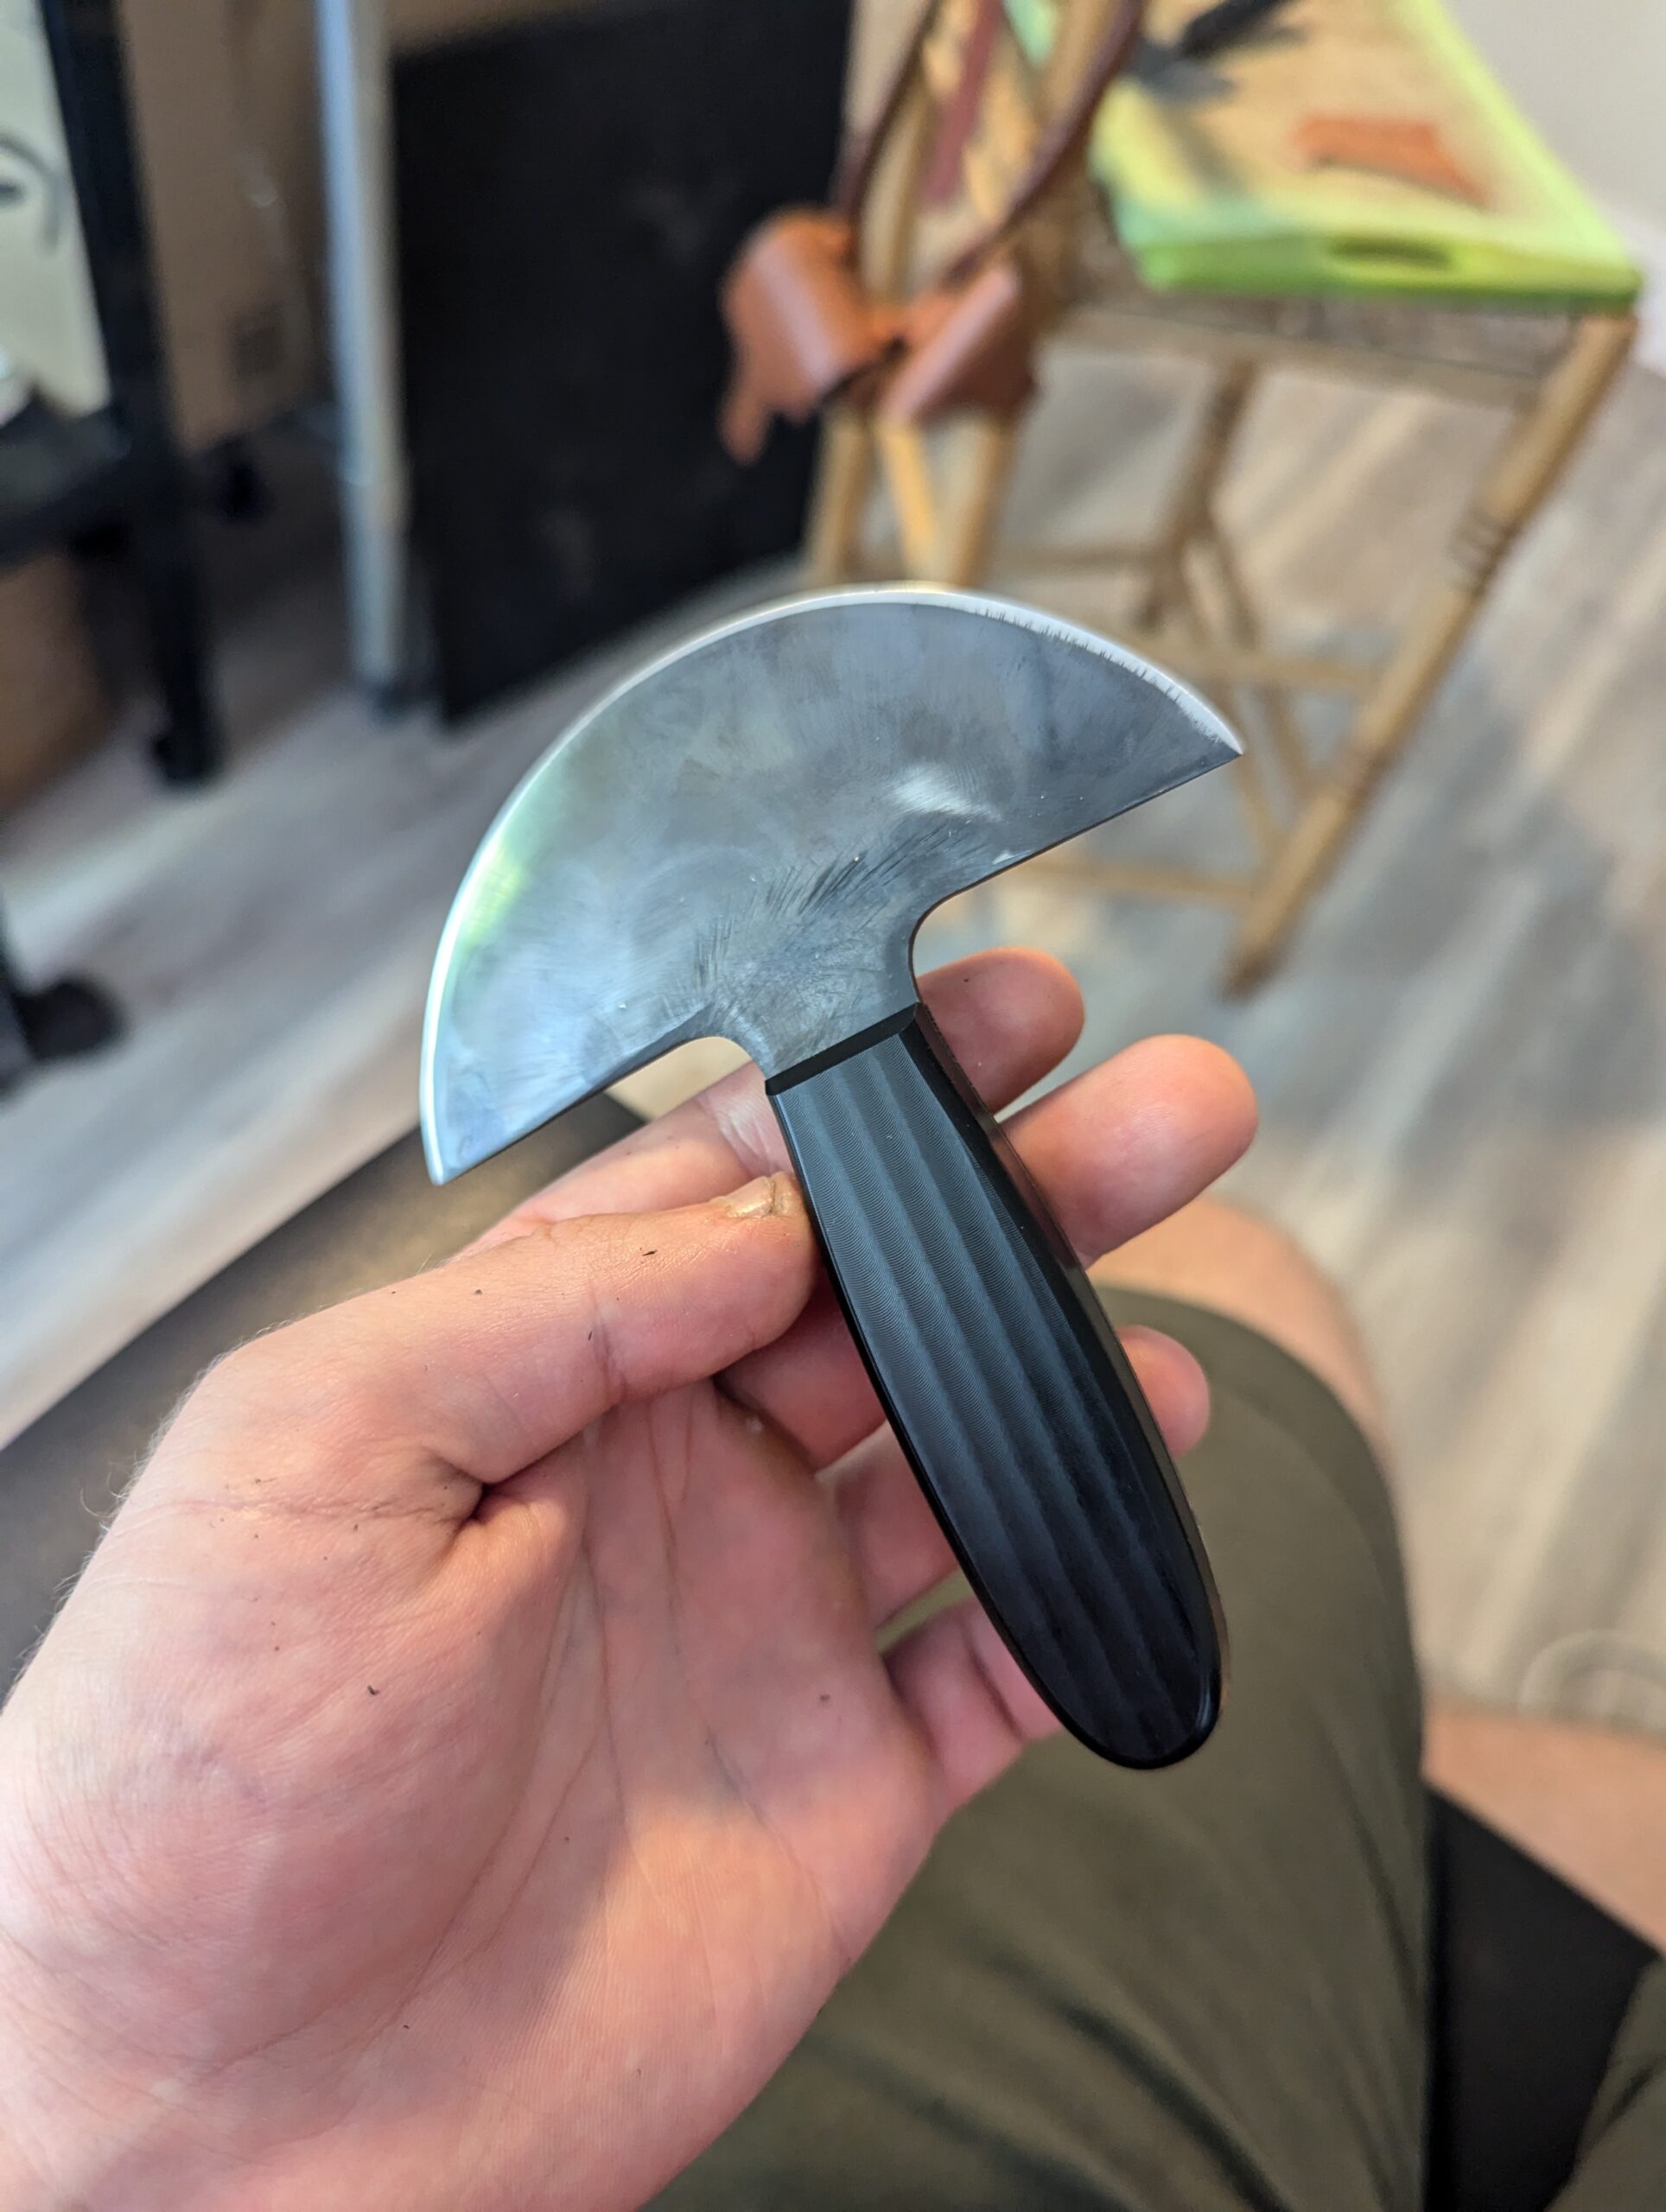
I made a head knife from a powder metallurgy steel (CPM 45VN) by machining the outline out of flat stock and then grinding the profiling with the help of an adjustable jig I made. For work holding, I glued the stock onto a plate and then, after drilling holes, bolted down the stock for more holding force. I was prepared for my hobby-ist grade mill to have problems but everything went beautifully.
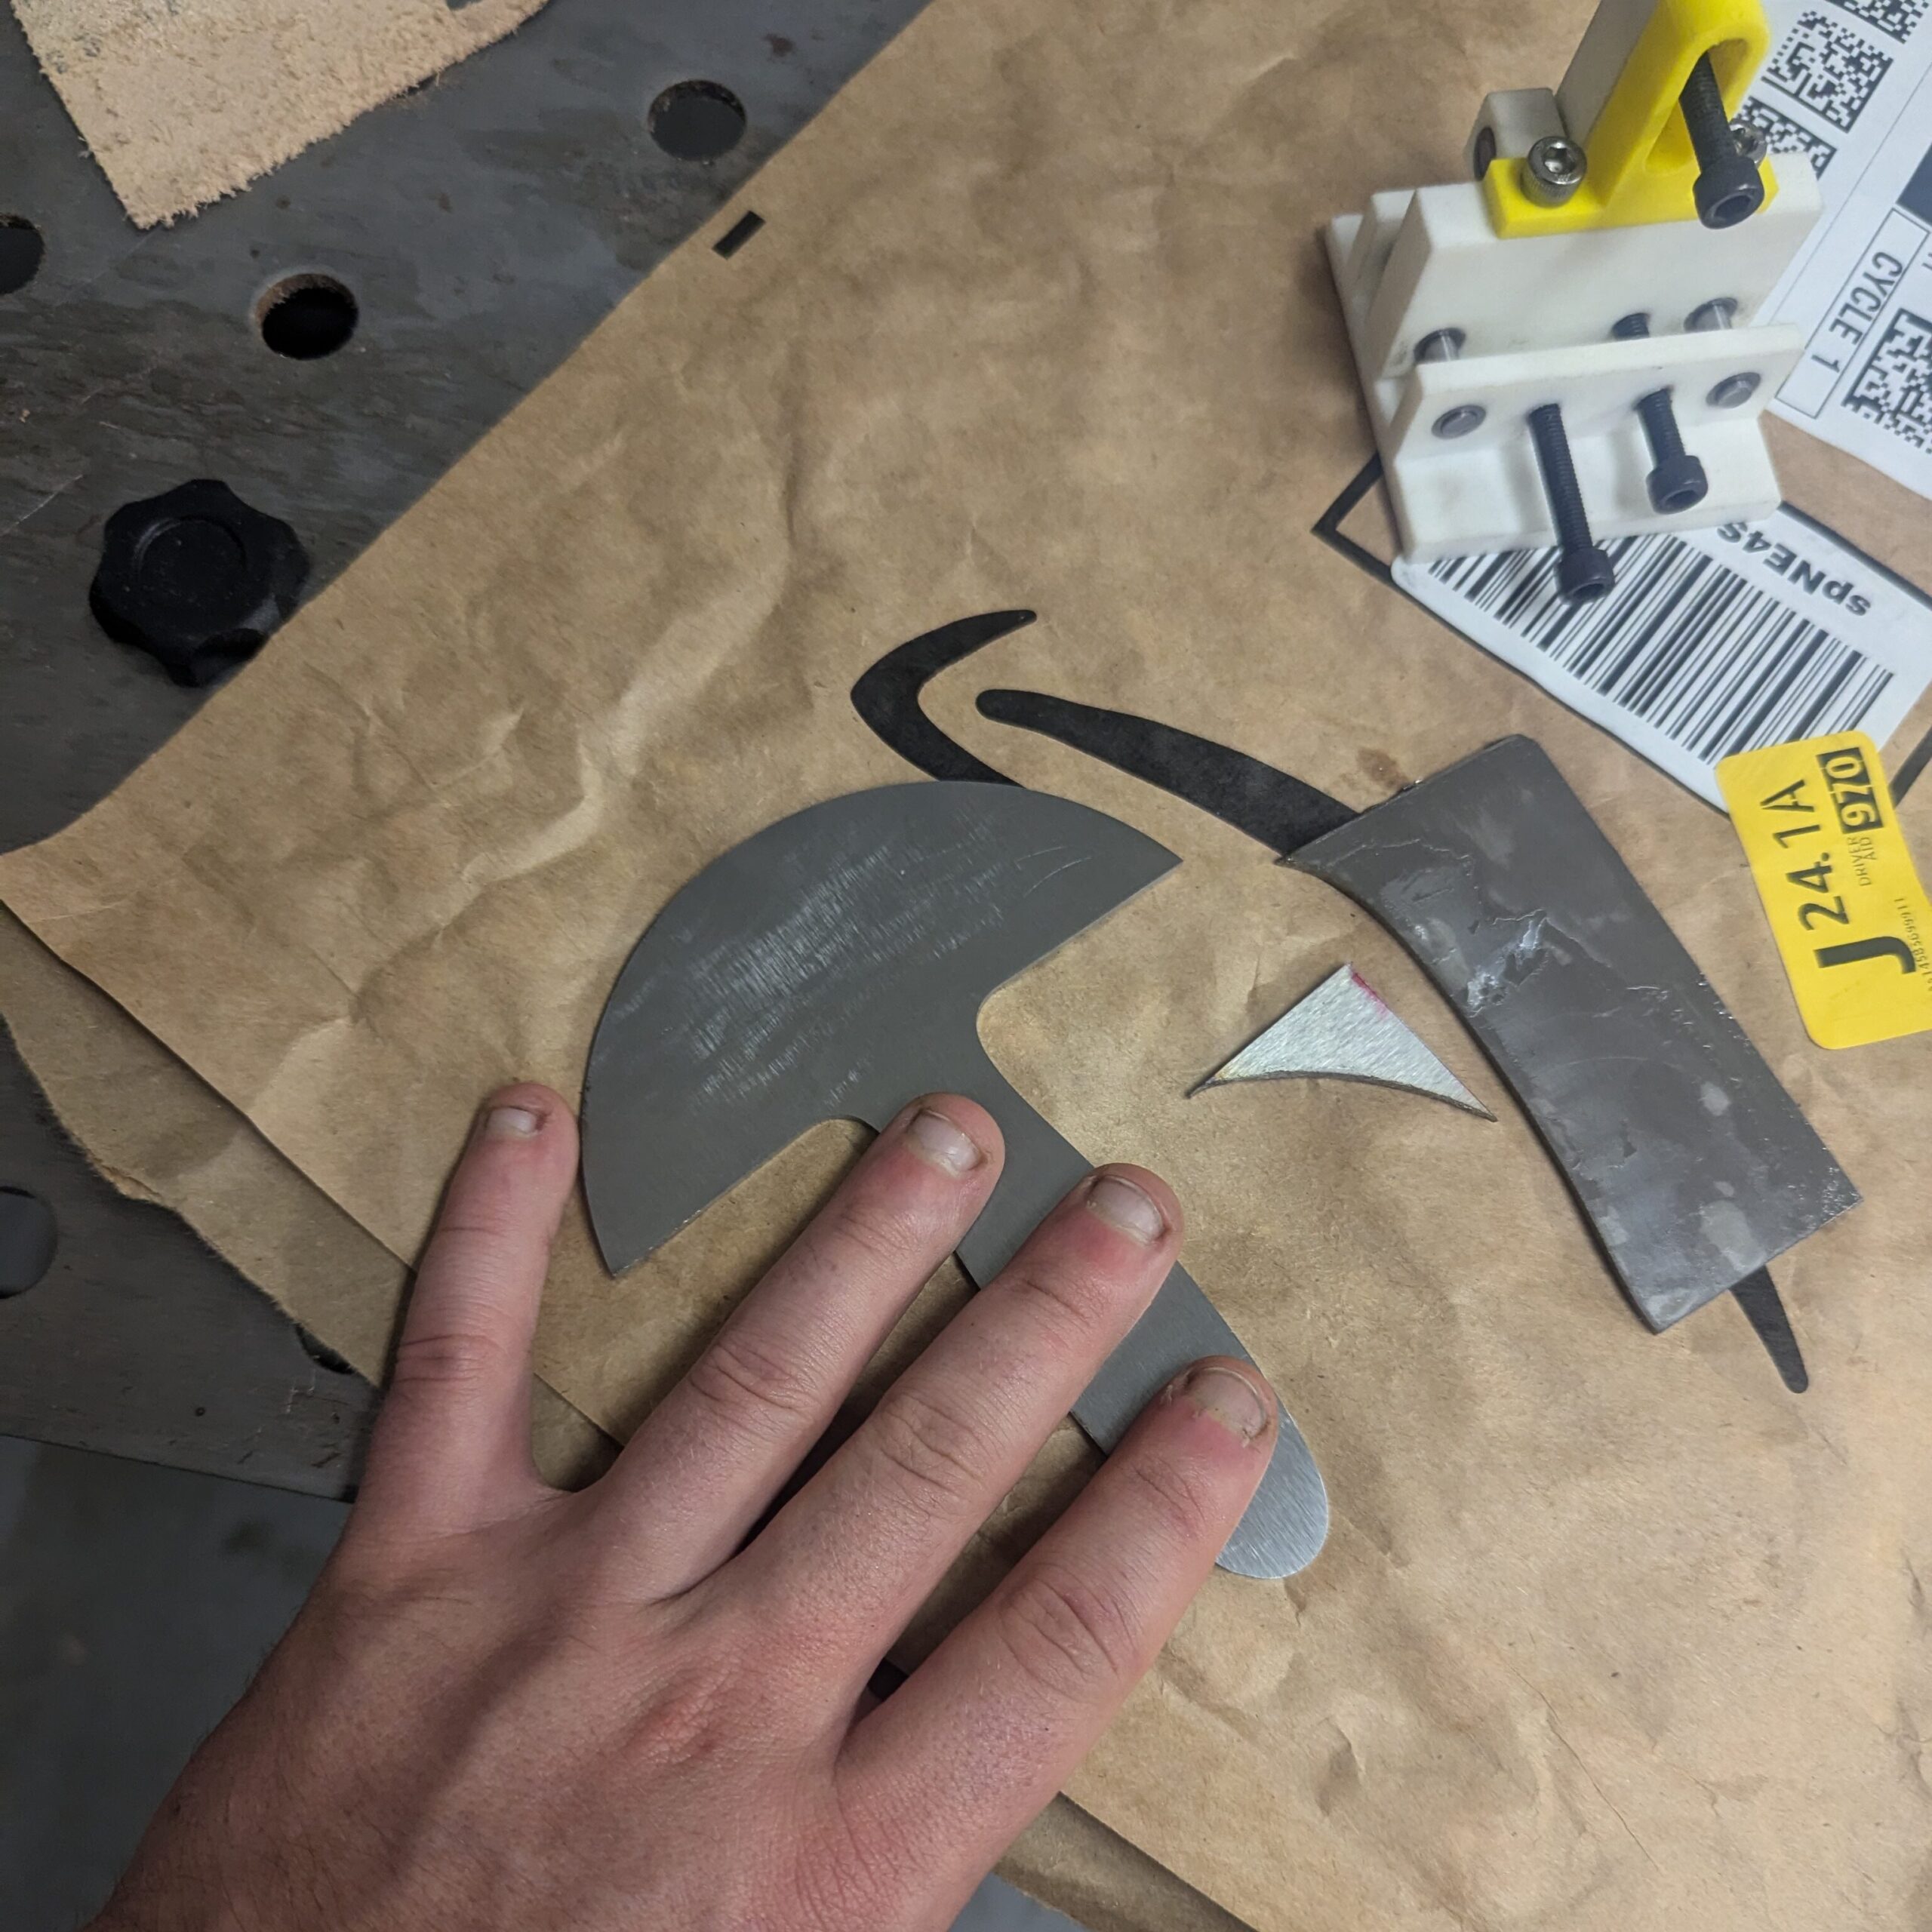
Blade outline and adjustable grinding jig. The jig was too ambitious and in the future I would use ones with less adjustability.

I machined the handle from Delrin. This was actually my first time working with Delrin and I was really happy with how it looks and feels. However, it’s definitely lacking in scratch resistance so the beautiful finish gets marred quickly. This was also my first project with a slitting saw, but now that I’ve used it once, I’ll probably use it often in future projects.
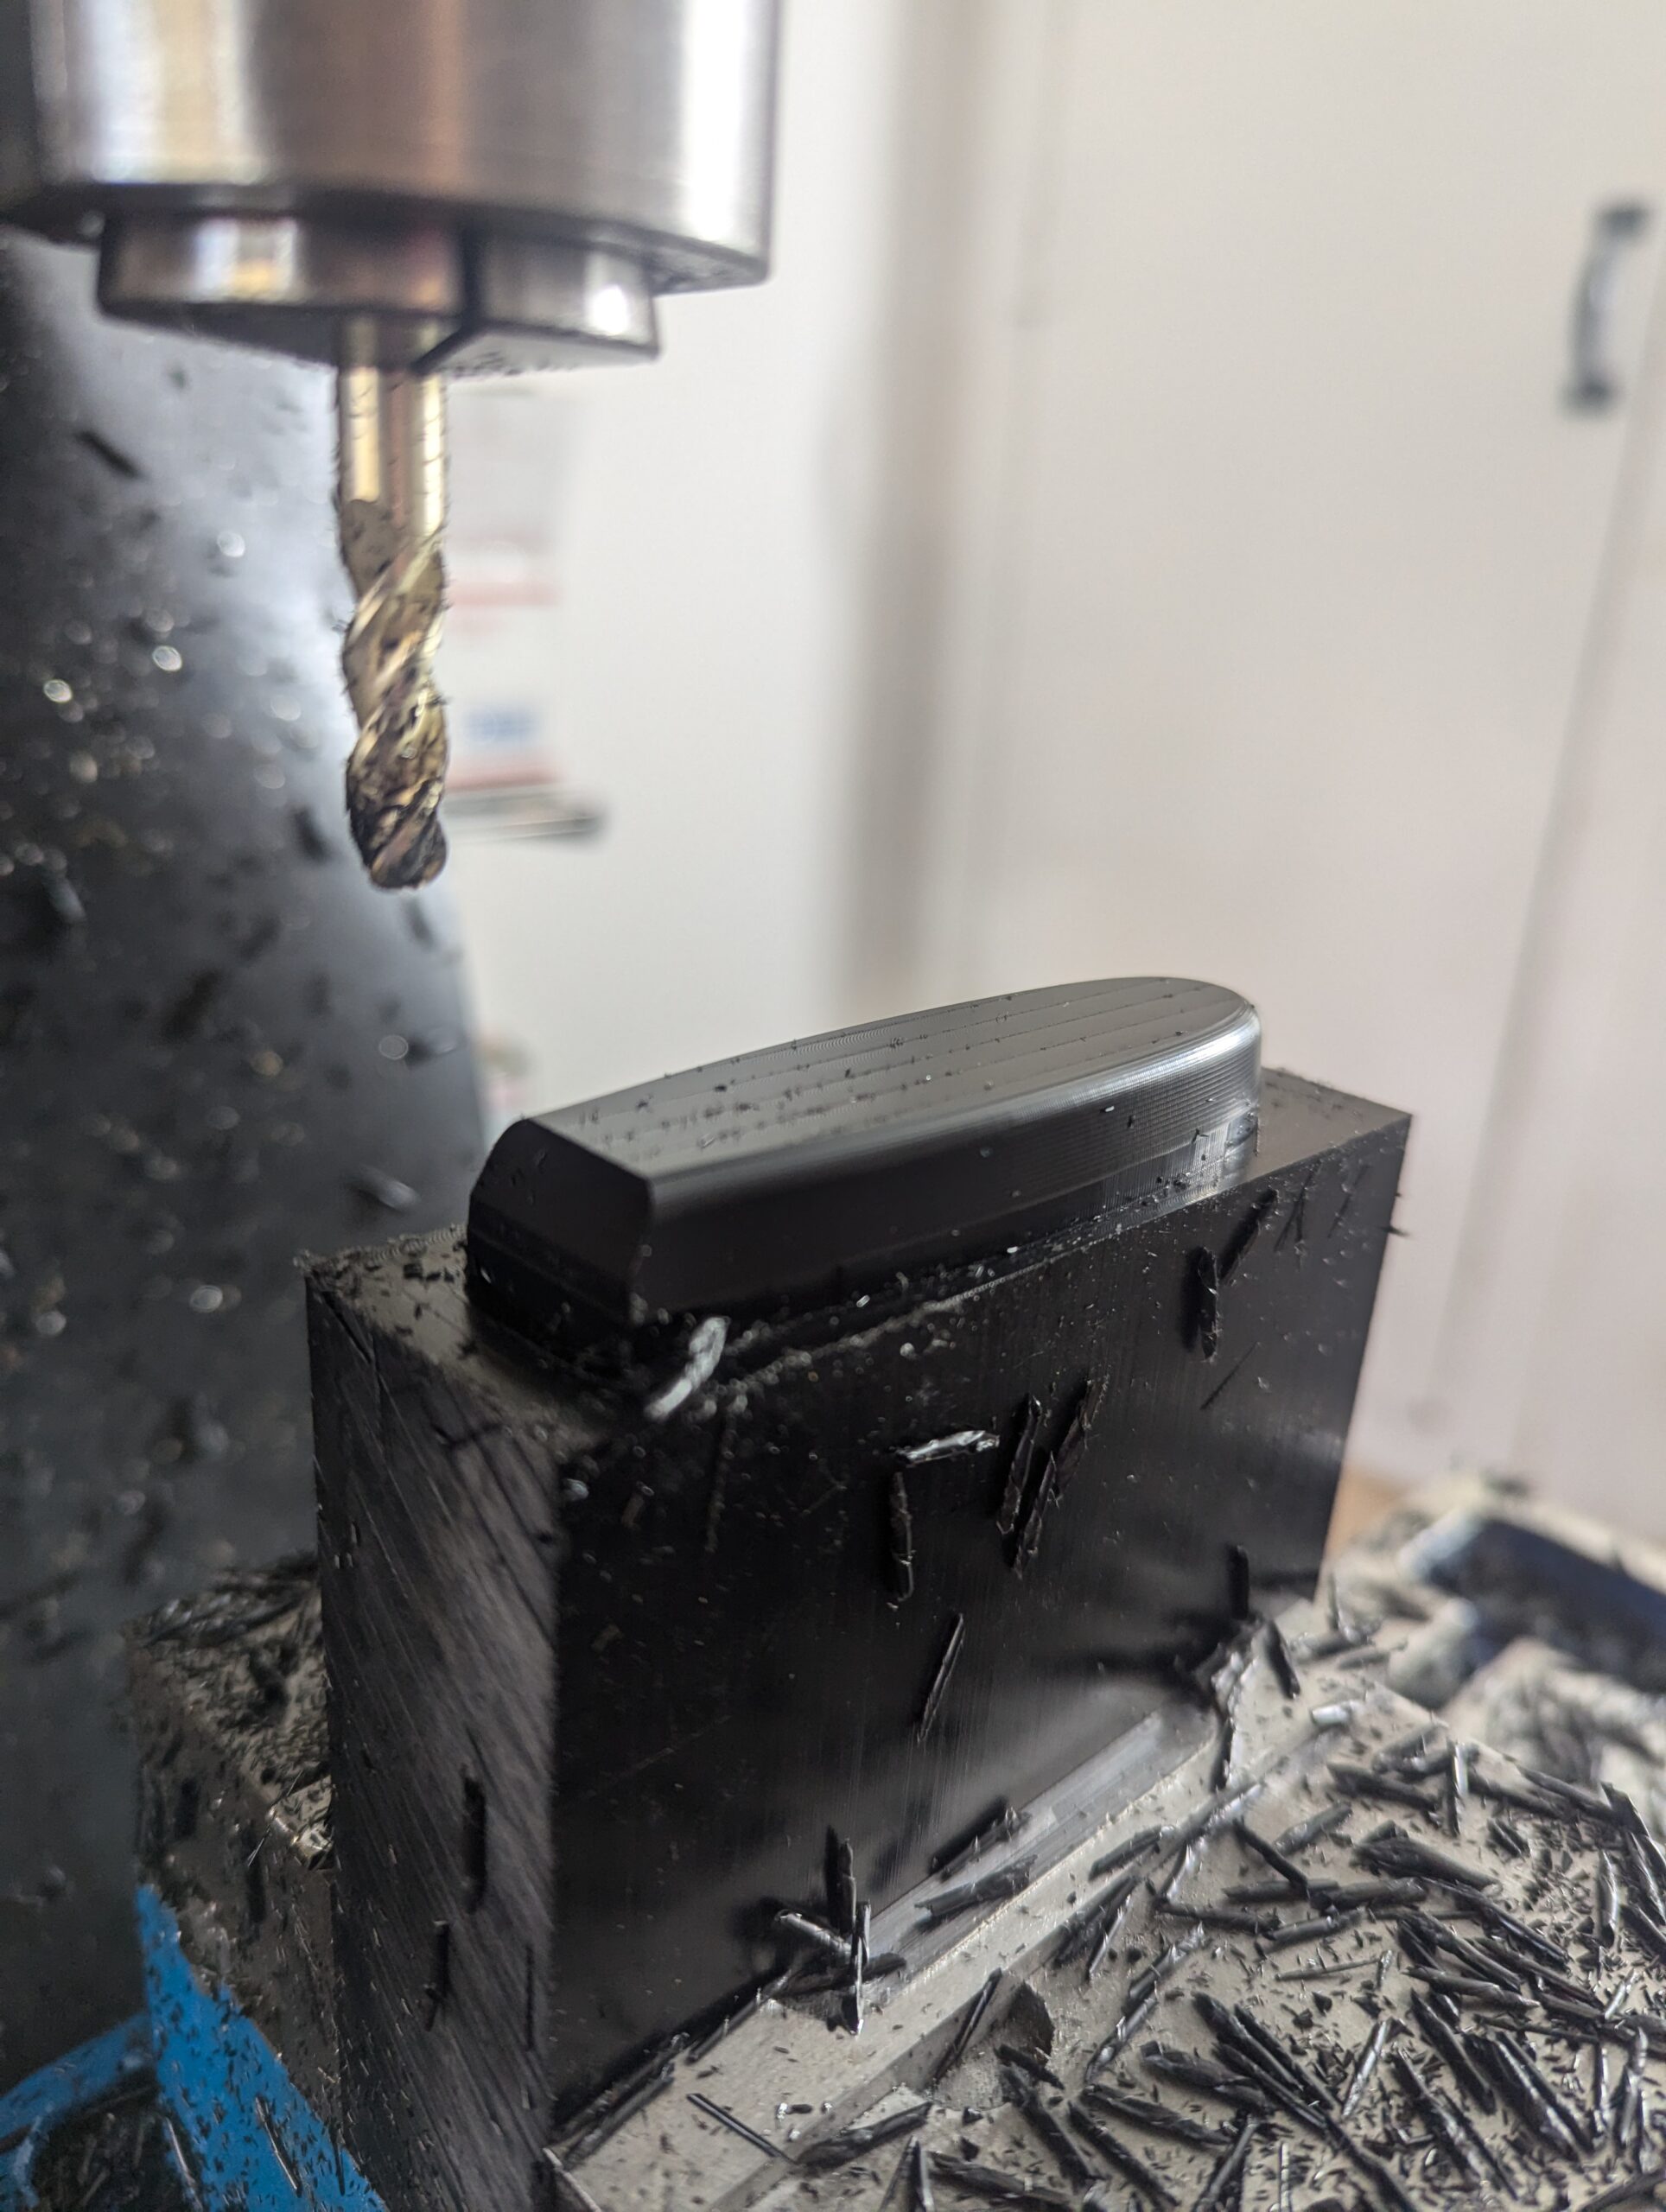
Handle half before cutting off with a slitting saw.
The black coating on the knife is from the heat treat process

Cord Lock Design

I have a repaired sweater with drawstrings and cord locks on the cuffs, which combines the comfort of long, loose sleeves with the ability to snug them up at my elbows for work. I thought it would be a neat exercise in engineering and art to design and make my own cord locks.

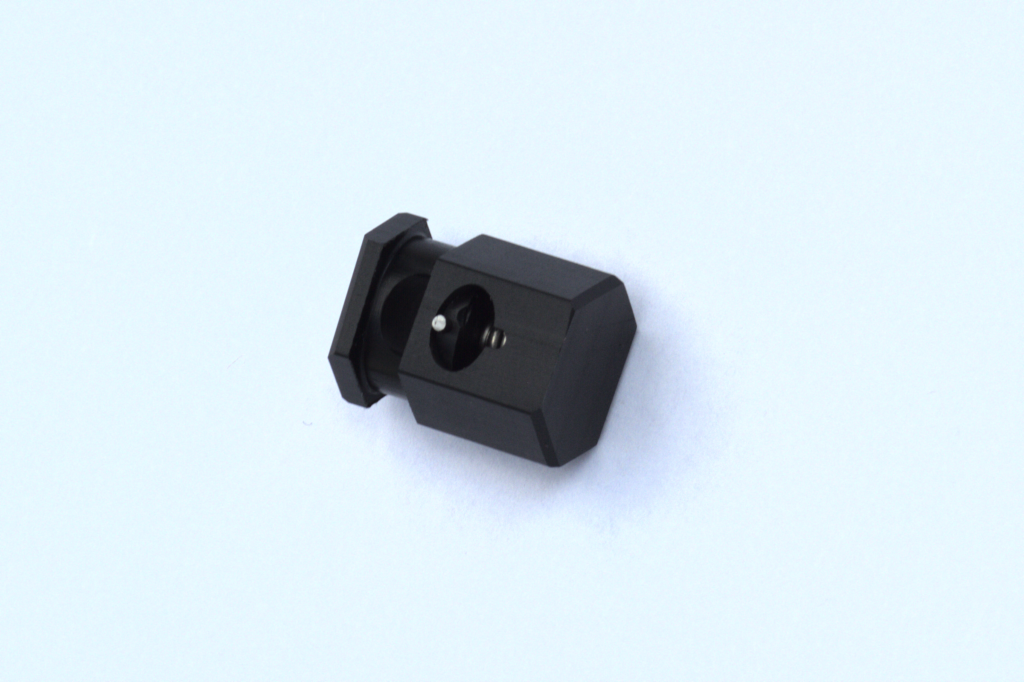
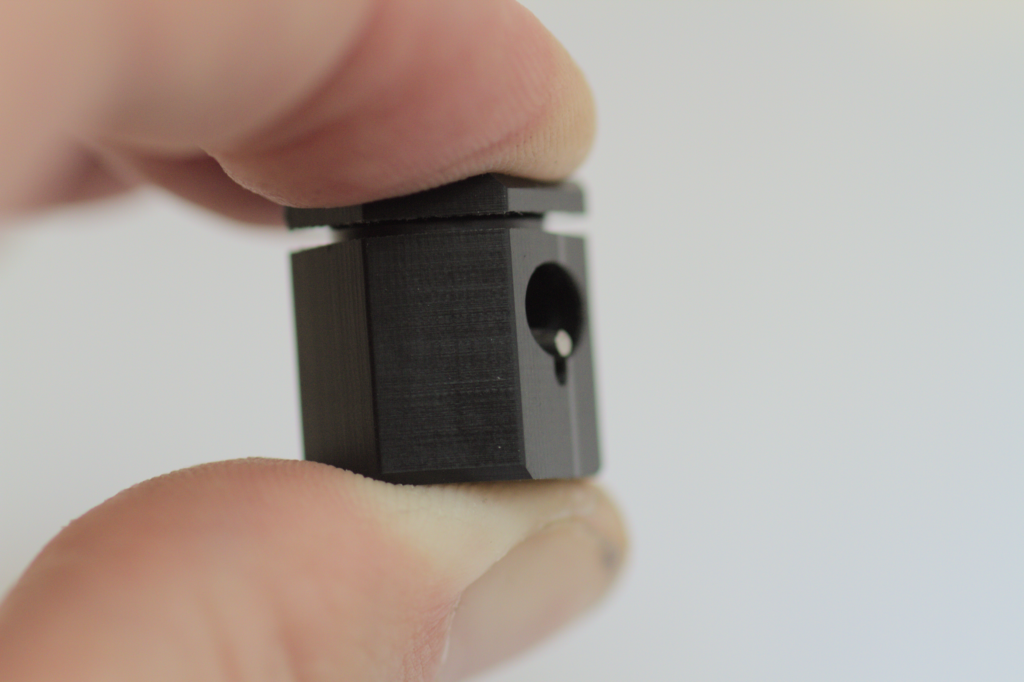
For the design, I looked at my personal cord locks, at cord locks online and their reviews. From the reviews I learned to be cautious about designing with too weak a spring. Aesthetically, I made a few CAD sketches until I found something I liked in a similar style as the belt buckle I made. A big concern of mine was that I would enjoy the appearance regardless of the position, and that all features would look intentional. For example, the alignment of the mobile part is maintained relative to the stationary part by having an elliptical track. One of my designs had a sort of terraced top made from the two parts so regardless of whether it was bottomed out or not, it would never transition between a flat top and a terraced top. For the spring, I found one on mcmaster that had the right range and enough compressive force.

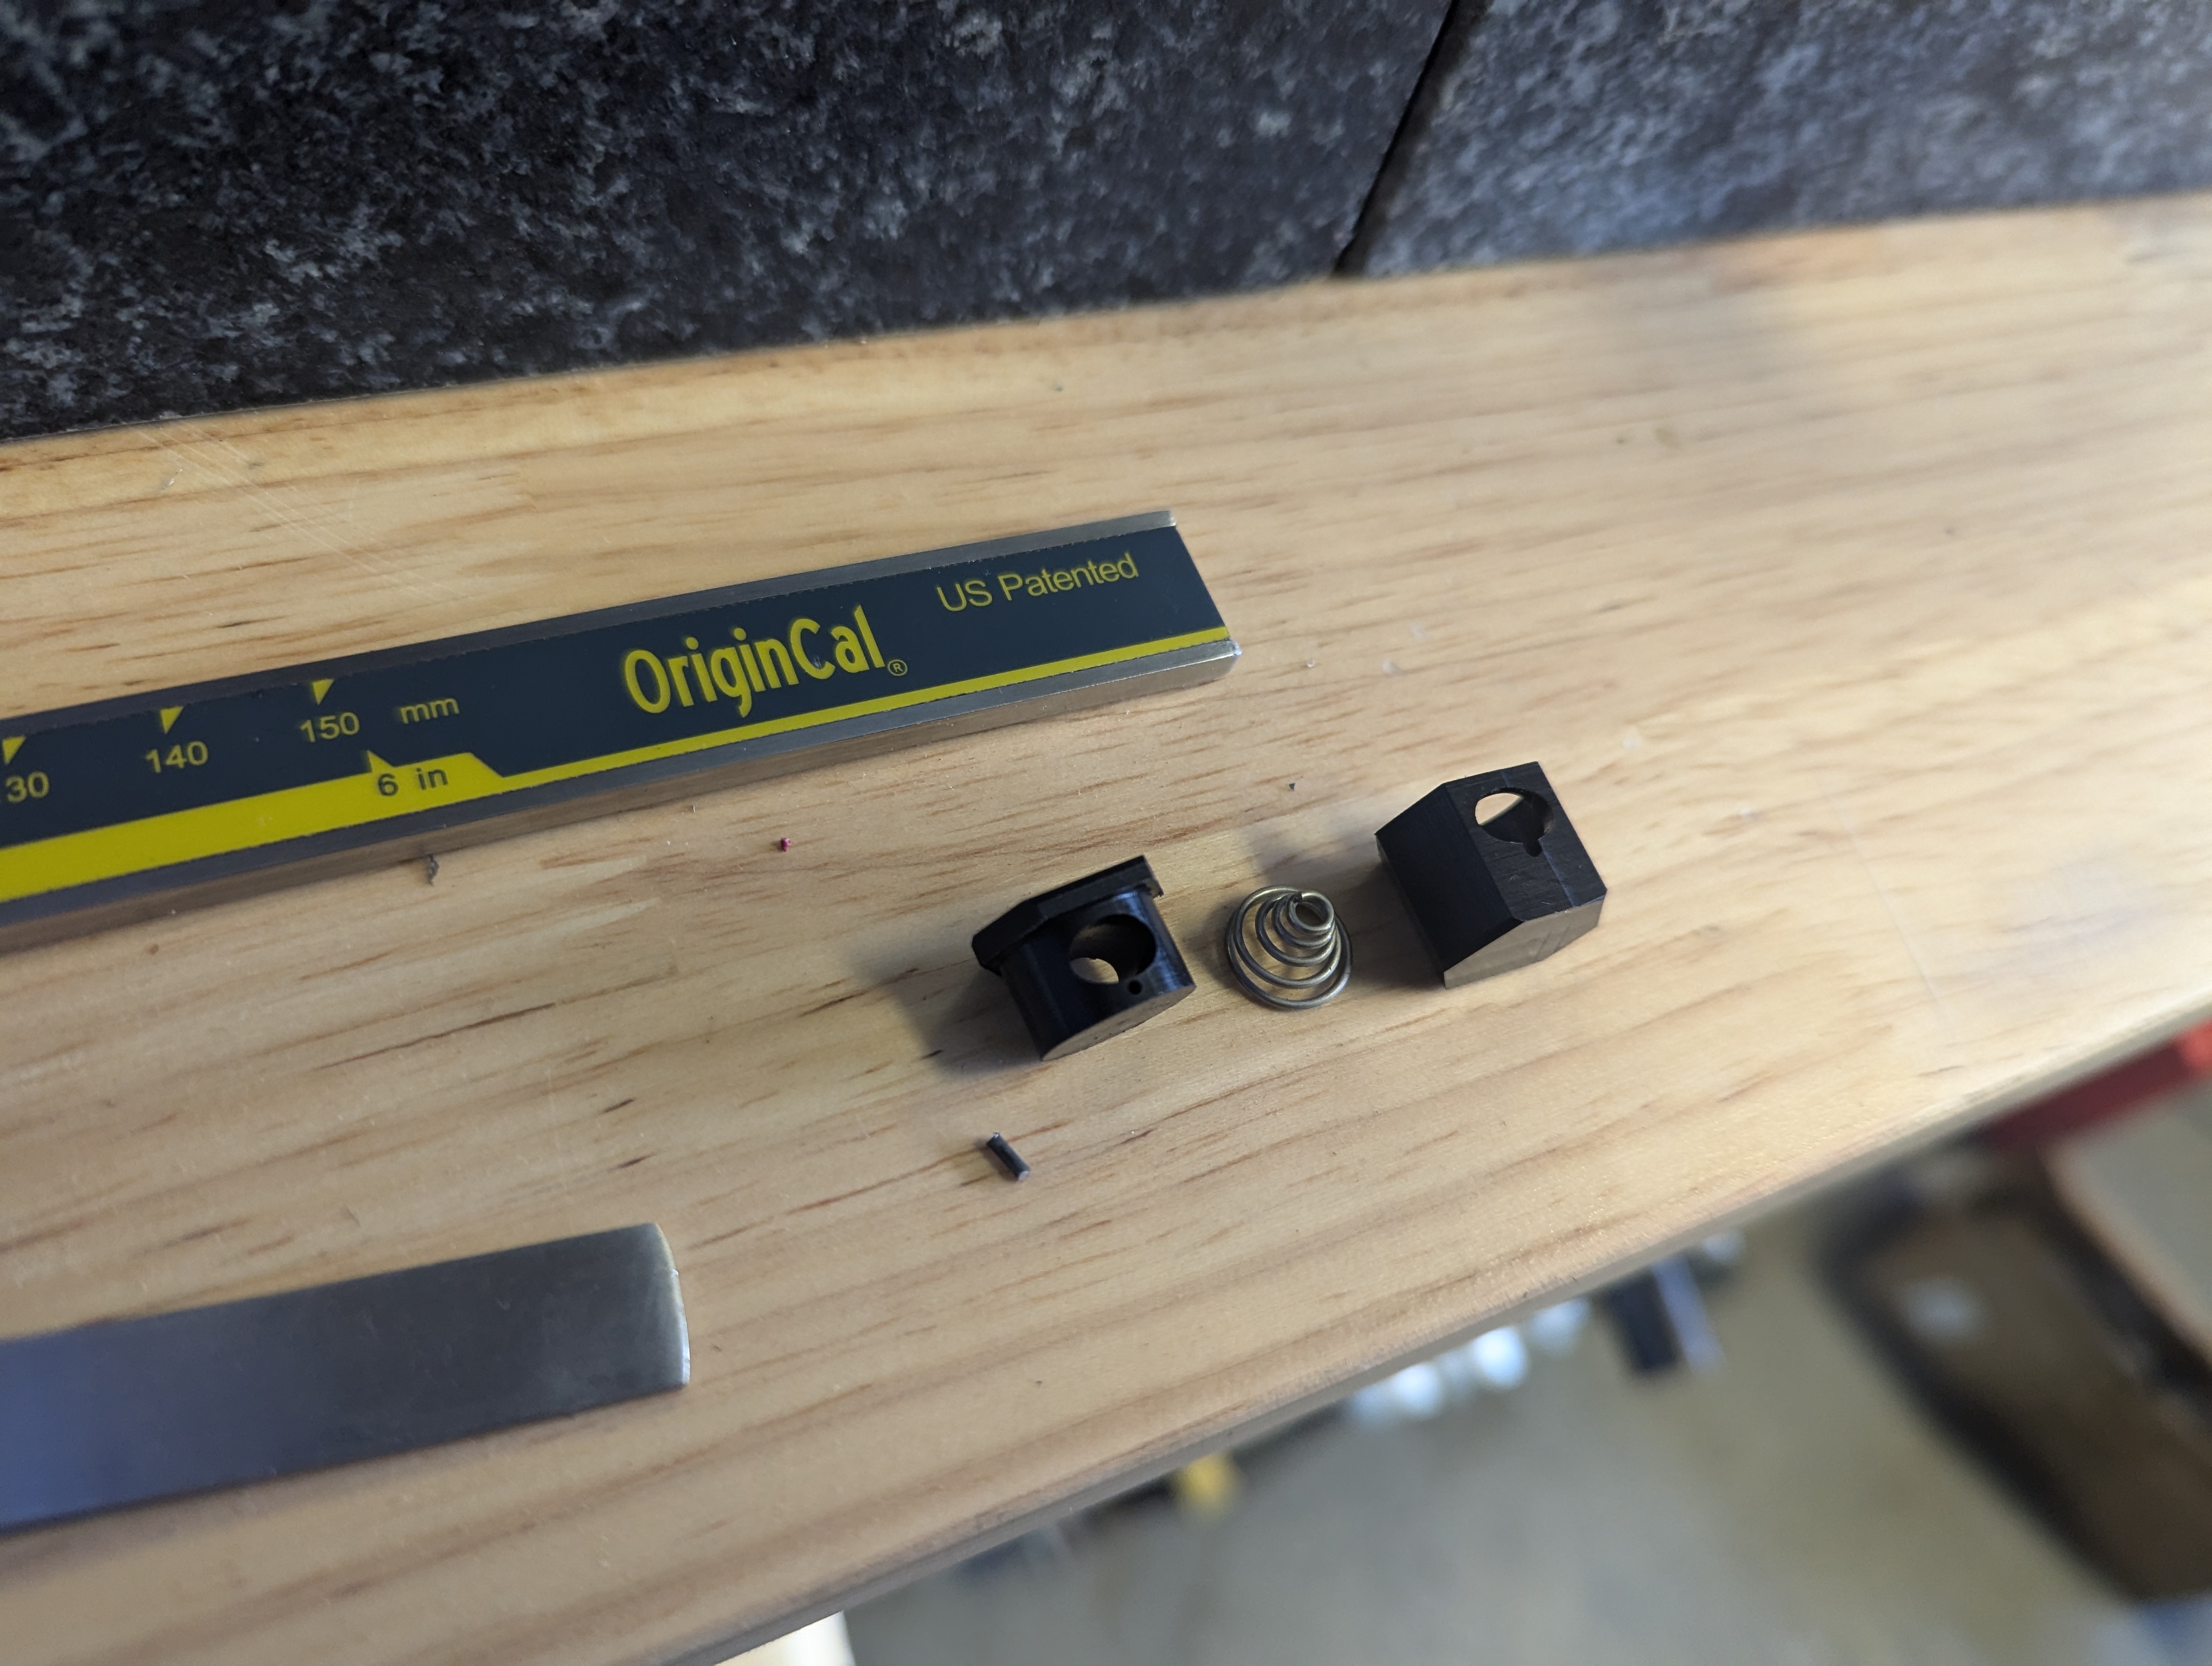
This is machined from delrin, with a stainless steel spring and a piano wire pin.

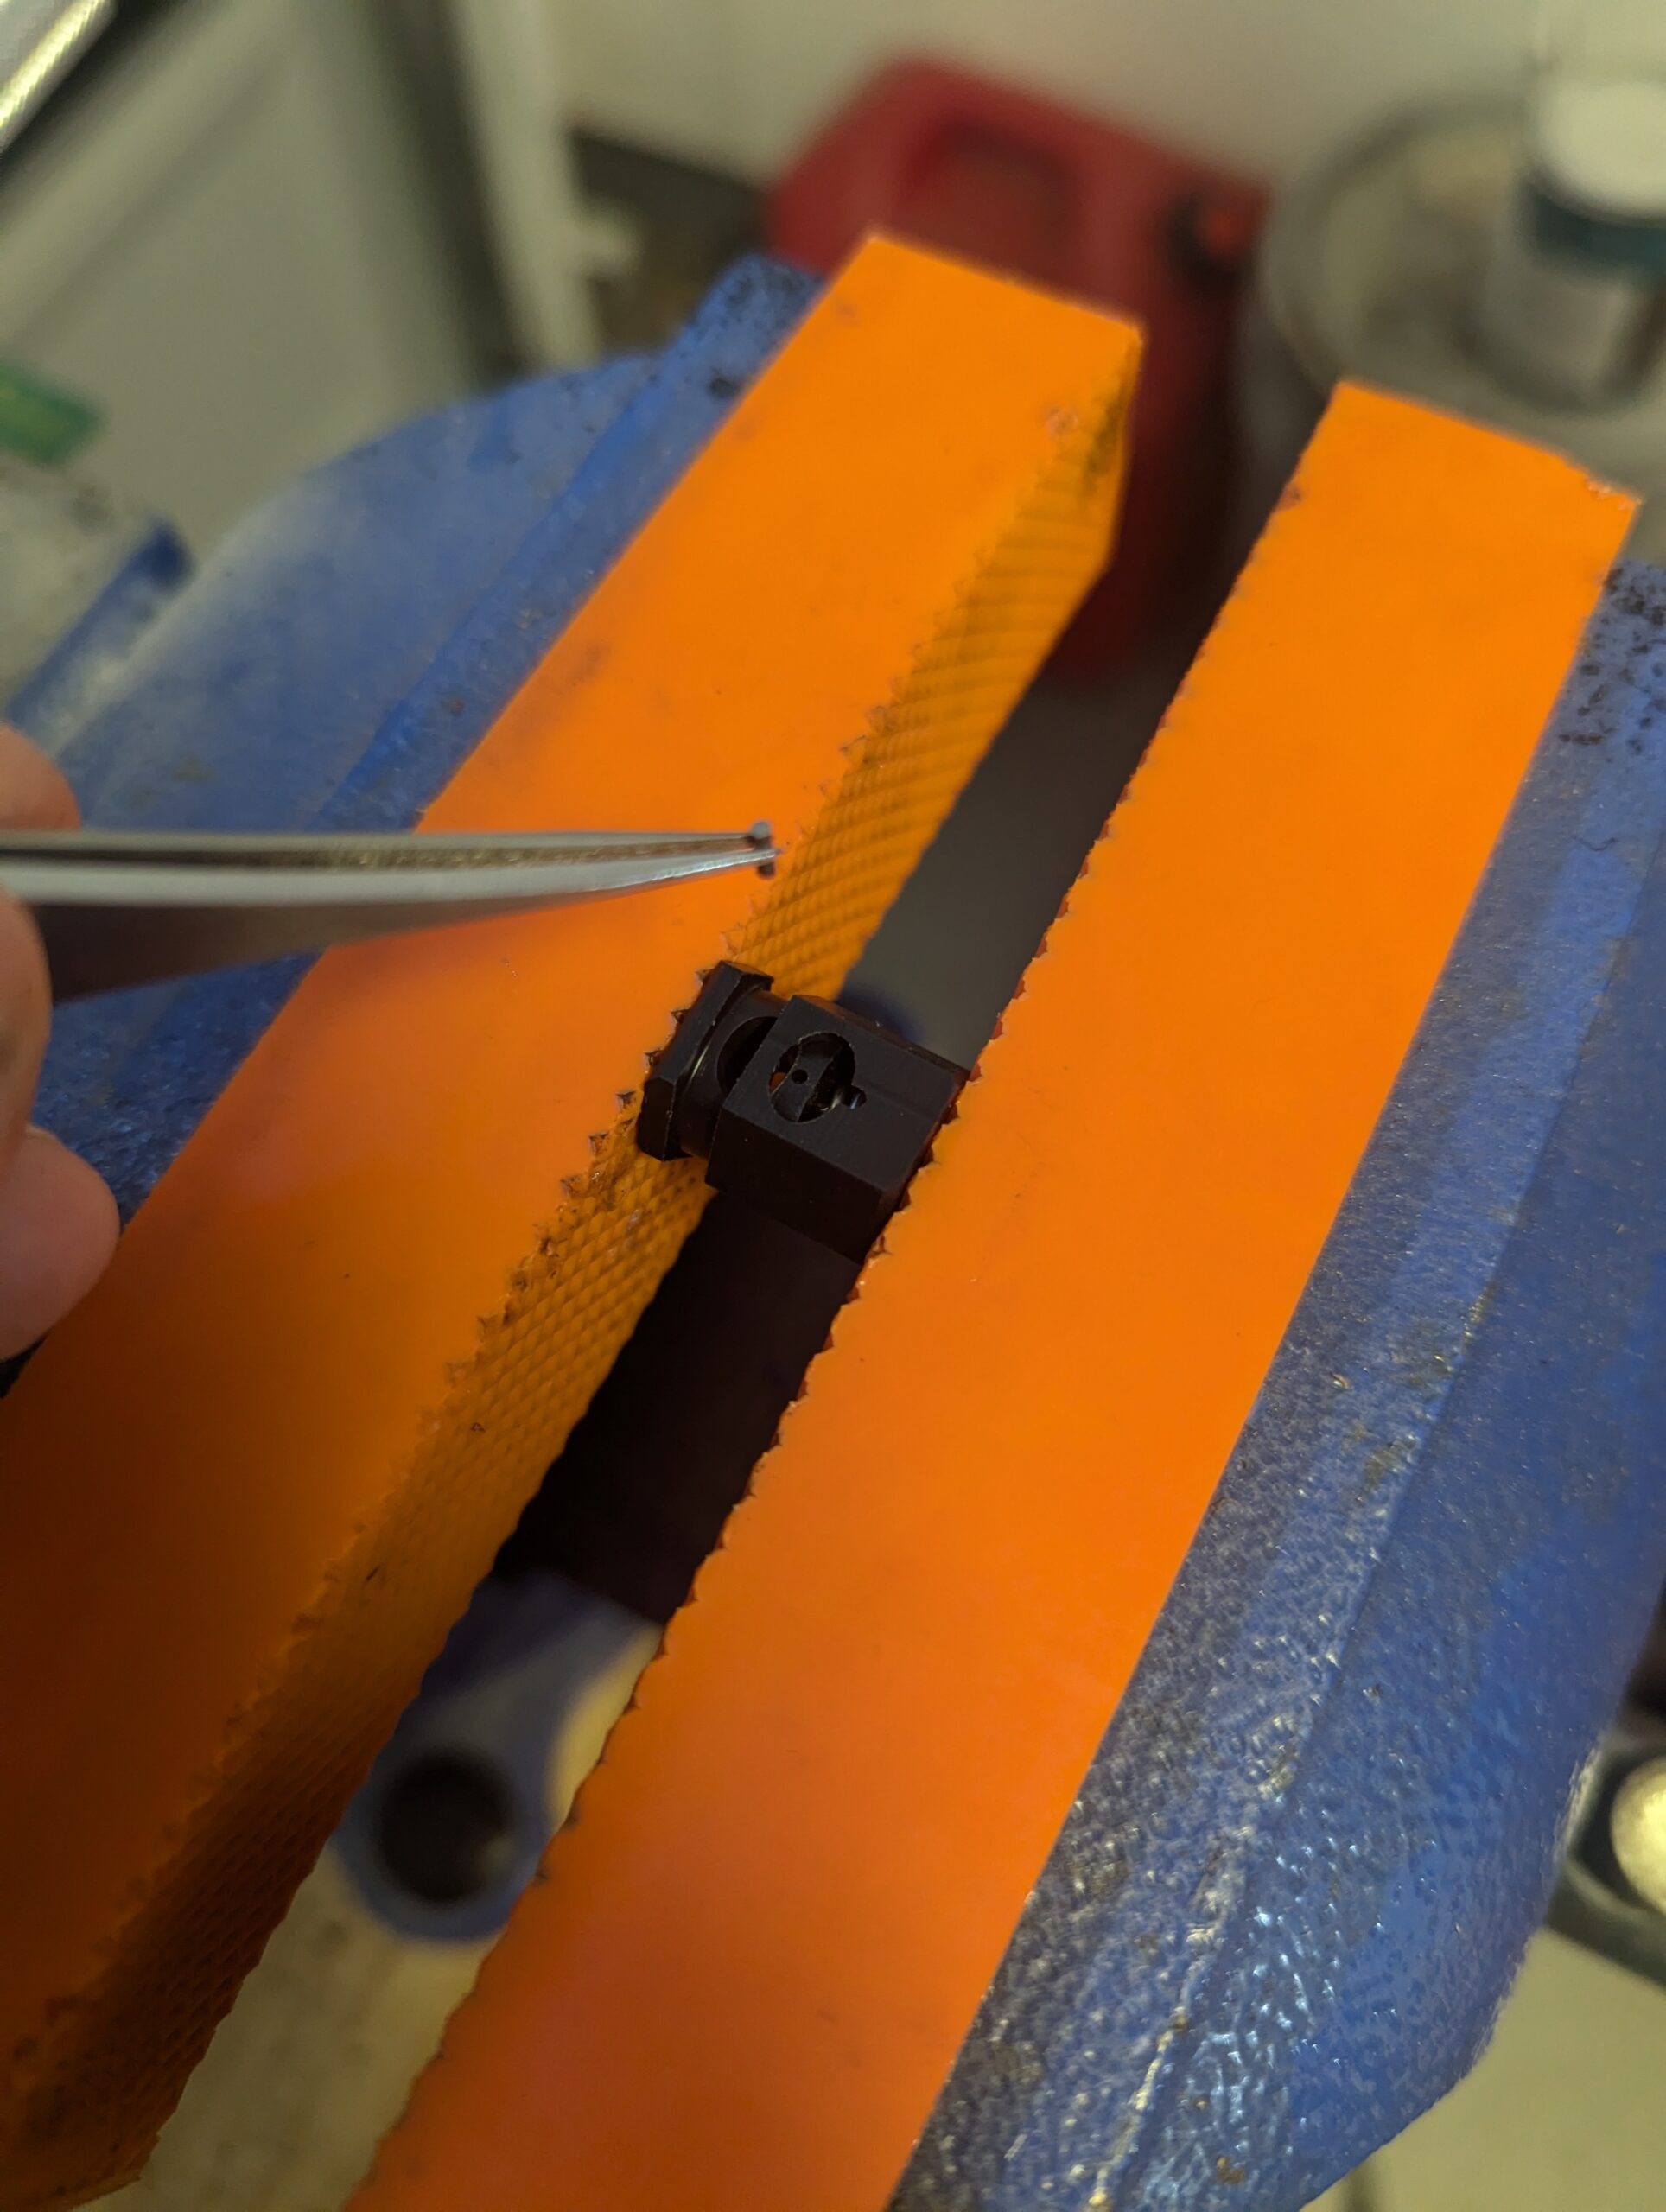
Inserting the pin without damage was a bit of a challenge

There are some things about the result which were unsatisfactory, which I’ve tried not to emphasize in these photos. They are all addressible with small manufacturing changes, so next versions will be better.

Machined Belt Buckle

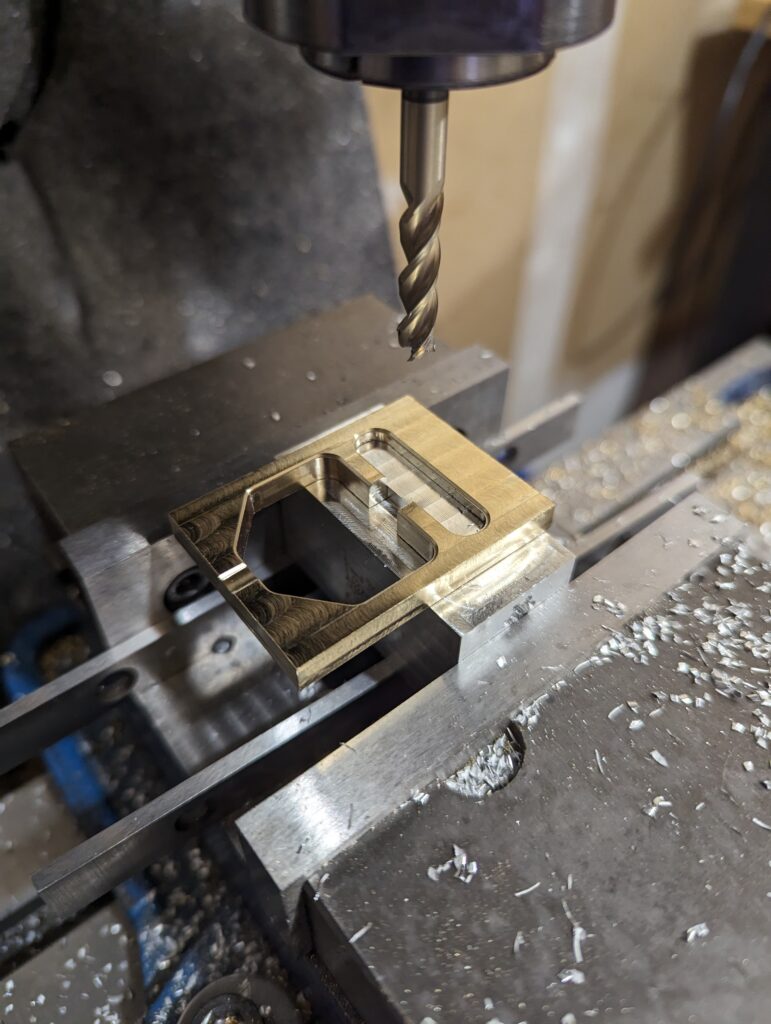
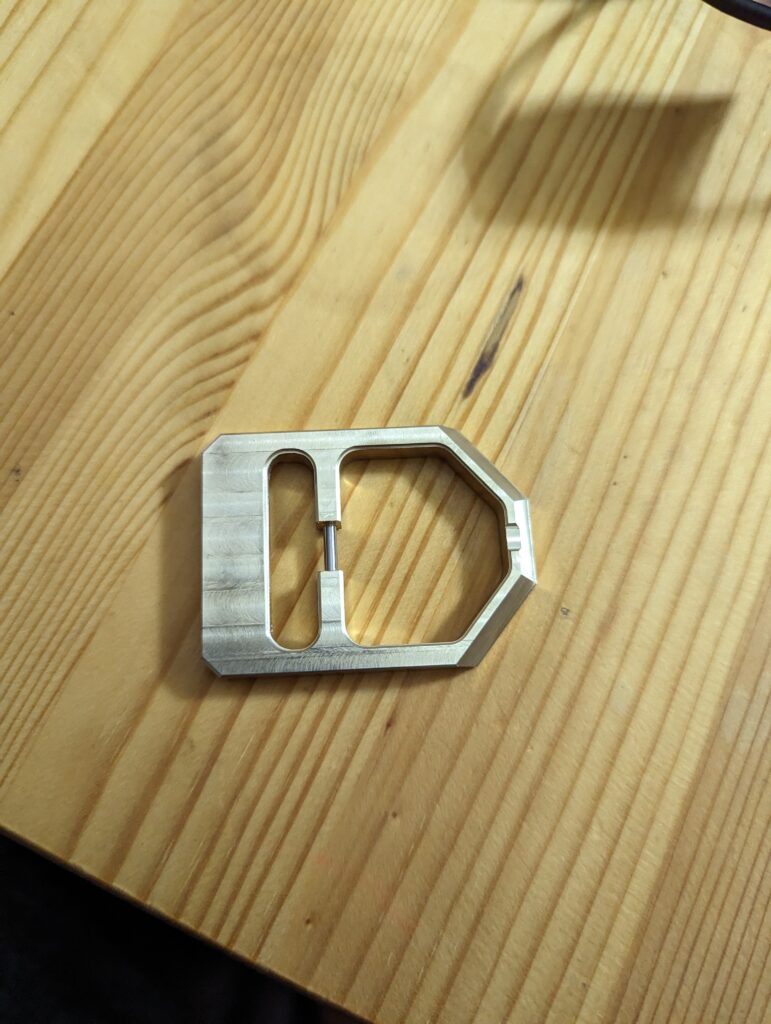
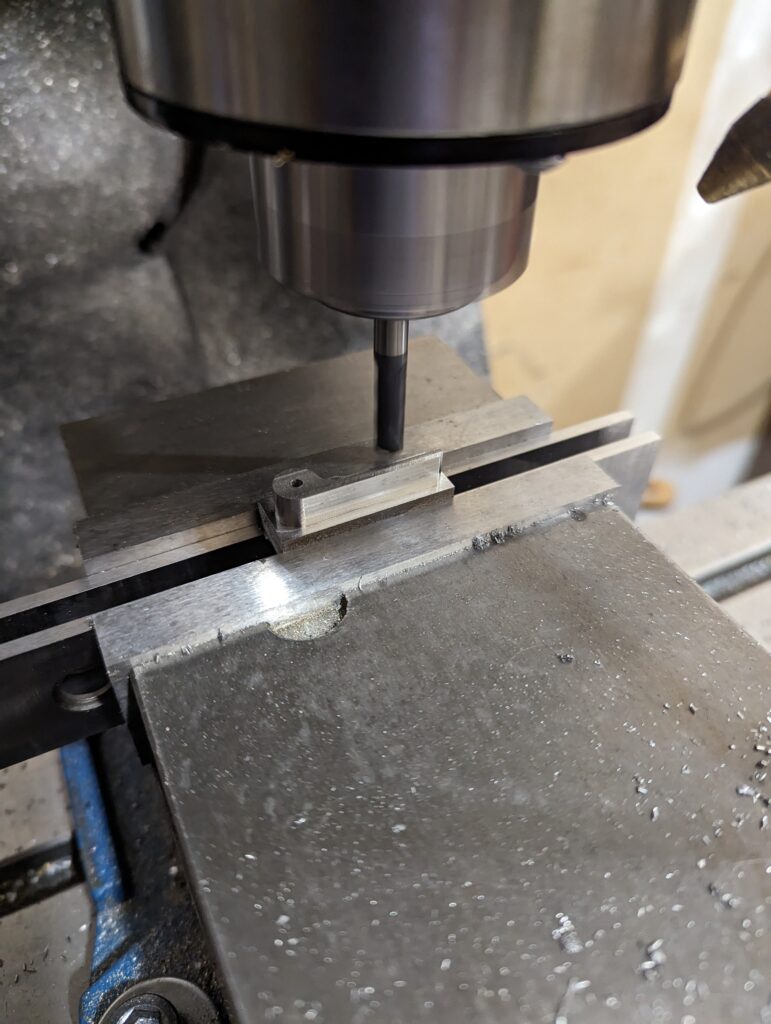
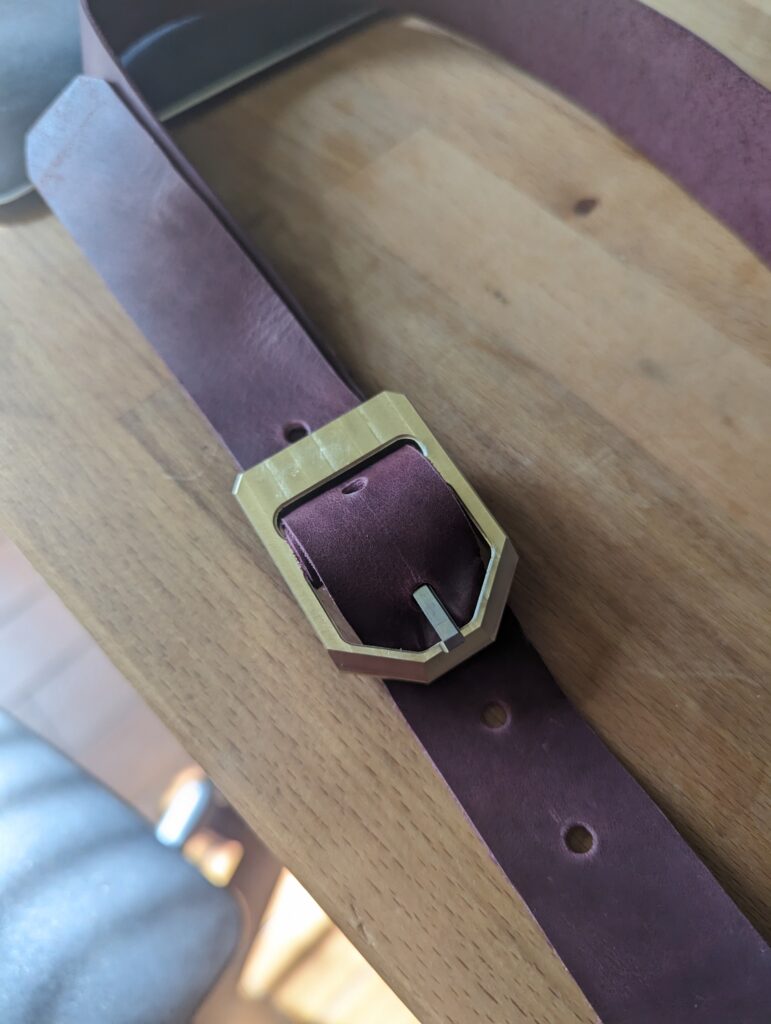
I made a belt with ansel.moe. I designed and made the buckle, and they incorporated it into a belt for me. I asked for a red utility leather I liked, and no liner or other belt features with the idea that we could redo everything better when I had used it enough to have opinions about what was good/bad from experience. Like many small machining projects, the hardest part was workholding, especially for the prong.


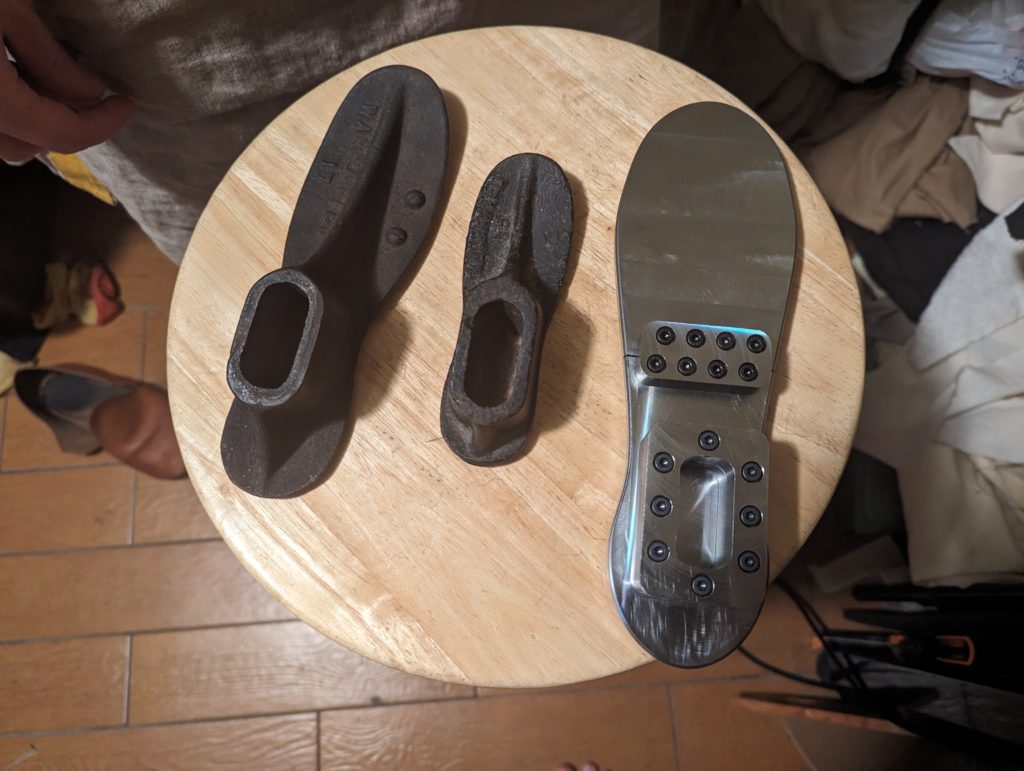
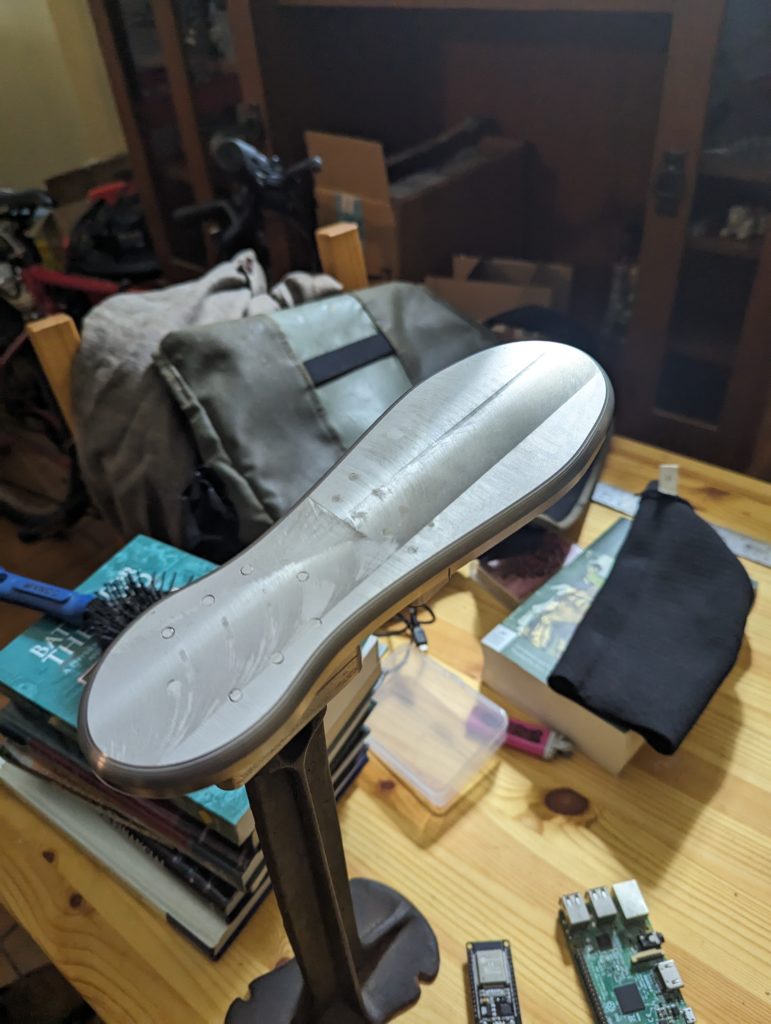
Making a Shoe Anvil

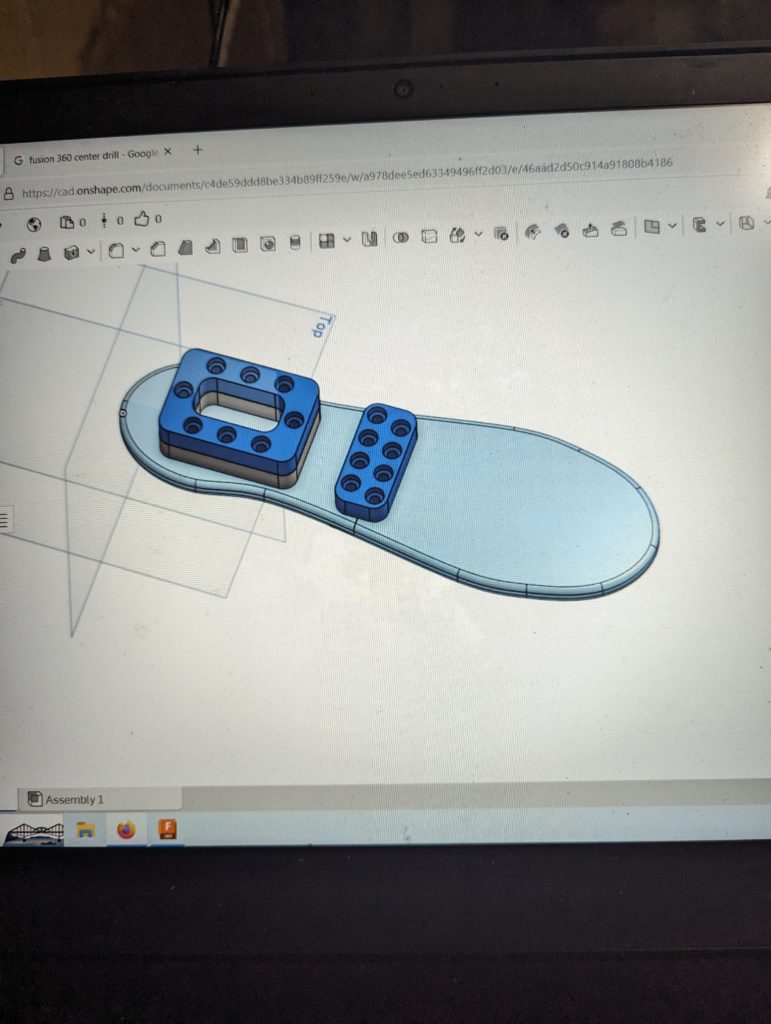
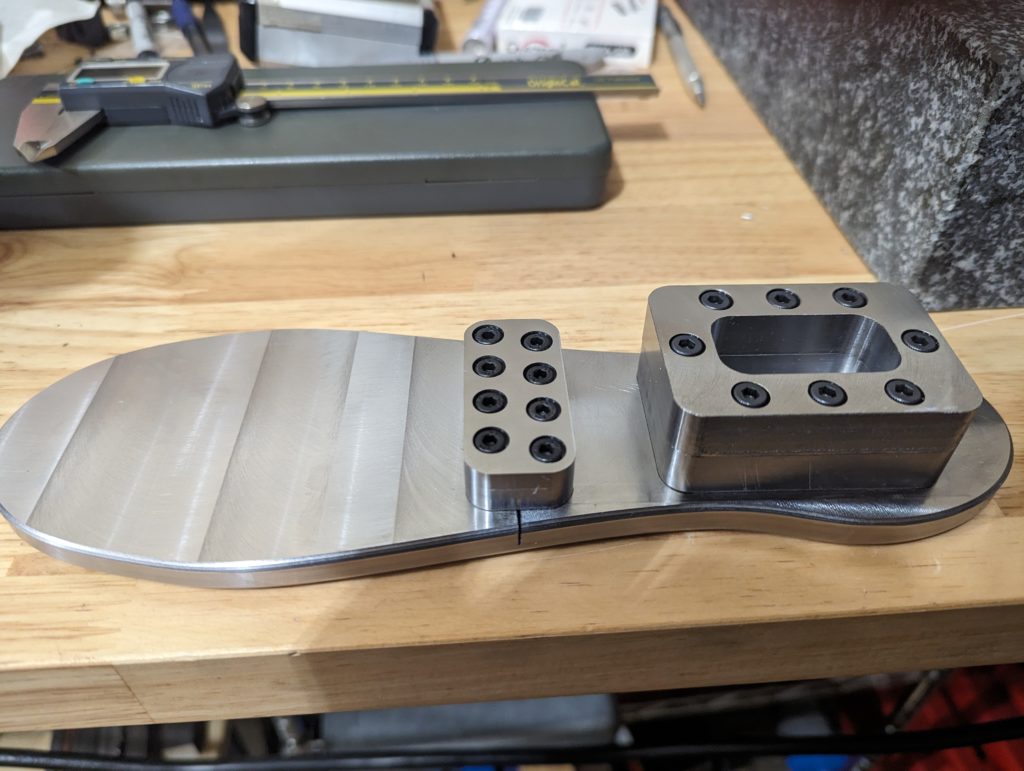
http://ansel.moe requested a larger anvil for driving nails into shoe soles. I had some 6x6x1/4″ (presumably) A36 lying around so I gave it a go in multiple parts. To get the outline I took a lot of profile measurements by hand from an existing anvil and scaled it up.

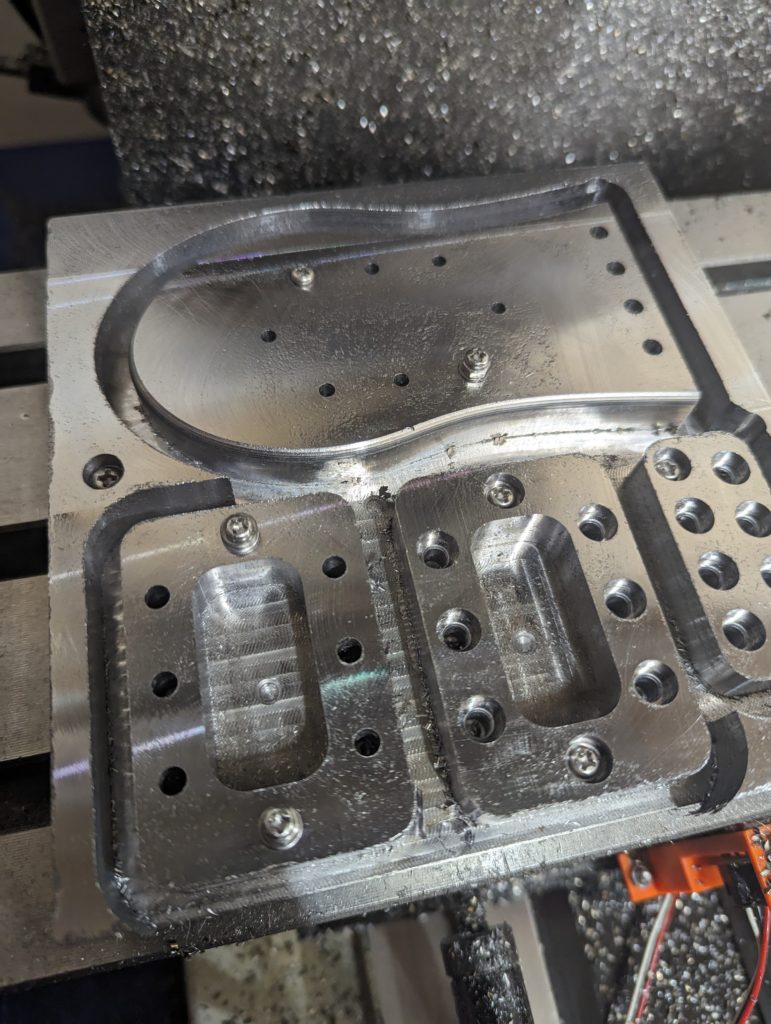
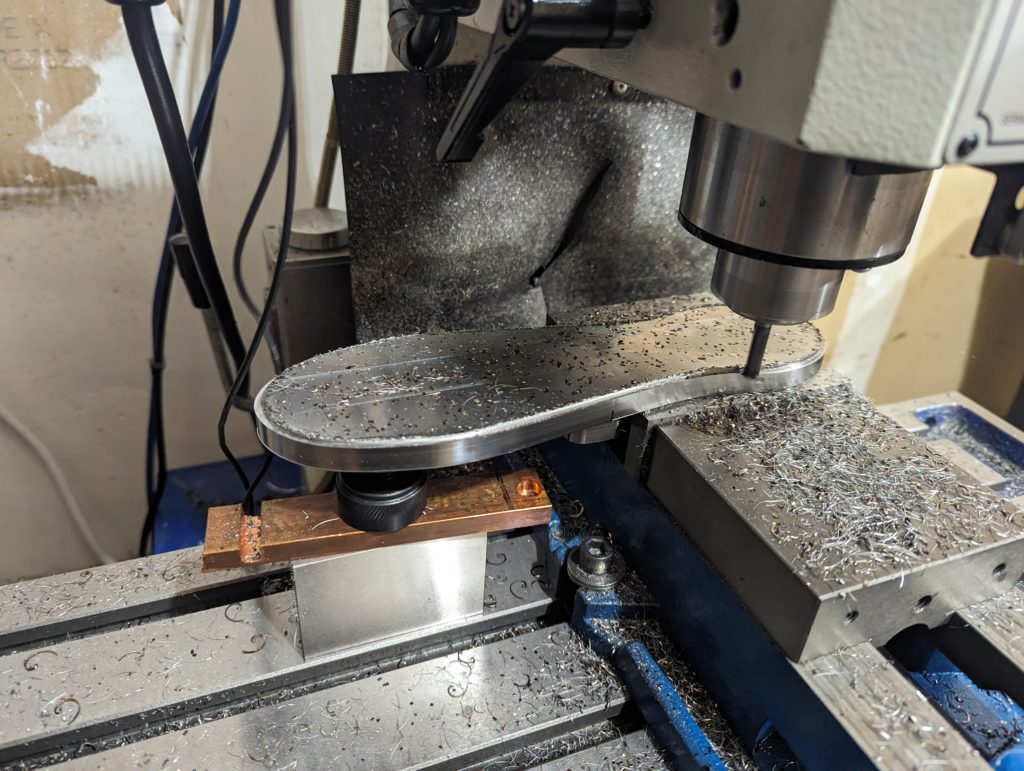
For workholding, I bolted the stock plate onto a sacrificial plate, drilled the stock holes and tapped them, bolted down the indiviual parts to cut out on the stock plate, and then milled them out down to the stock plate. When I had all the pieces, I bolted the post hole in alignment with the sole using an adjustable parallels and a 1-2-3 block, bolted the toe piece on, and clamped it in the vise by the post hole so I could contour the bottom. To help stiffen the overhang, I used a machinist jack, but cutting on the overhang was still noticably louder.